Setting and removing bars
The Set bars editing function allows you to add or remove bars. You determine the type of bar, position, height, and diameter of the node and the opening angle.
Prerequisites
-
You are editing a blank with objects in the Nesting view.
-
You no longer need the following editing functions for this object:
-
Changing the orientation
-
Adding/editing a sinter bar
-
Anterior tooth manufacturing
-
-
Activate the top view with
 .
. -
Select the Objects tab.
-
Select the desired object in the blank display.
-
Open the Set bars editing function with
 .
. -
To remove a bar, right-click the node.
-
To place a bar:
- (missing or bad snippet)
(Optional) Adjust the following bar parameters:
Select the location for the bar in the tooling area and hold down the mouse button.
The bar automatically snaps to the outer surface of the object. dentalcam displays the bar in the preview area in the left column.
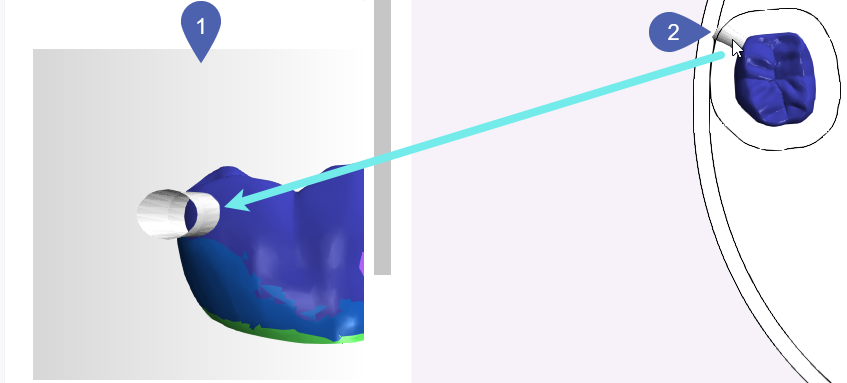
1
Preview area
2
Newly set bar in the blank display
Move the bar.
Axis
With the mouse
With a touch gesture
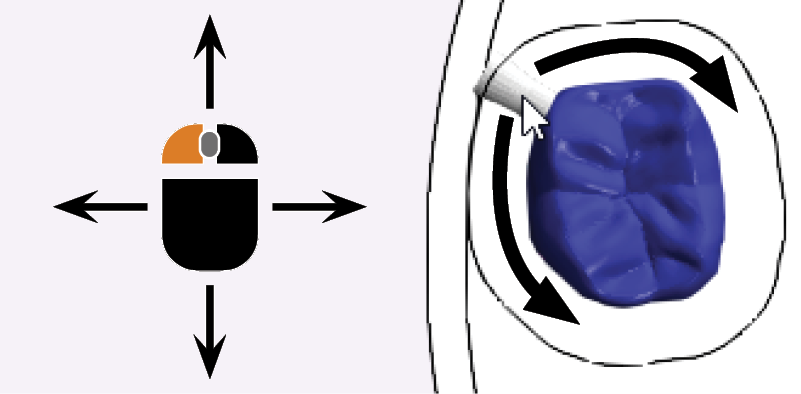
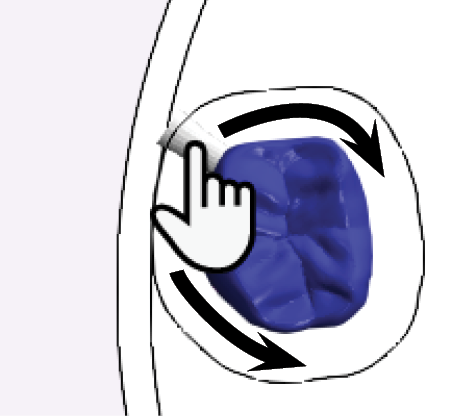
X and Y (horizontal)
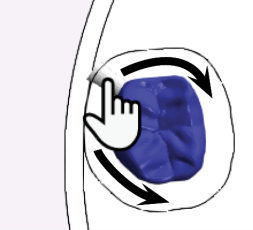
Hold down the mouse button and drag a bar around the object.
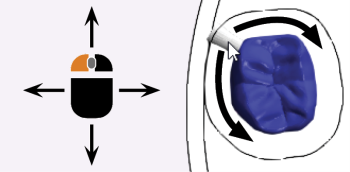
Place the finger on the bar and drag it around the object.
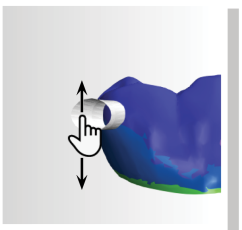
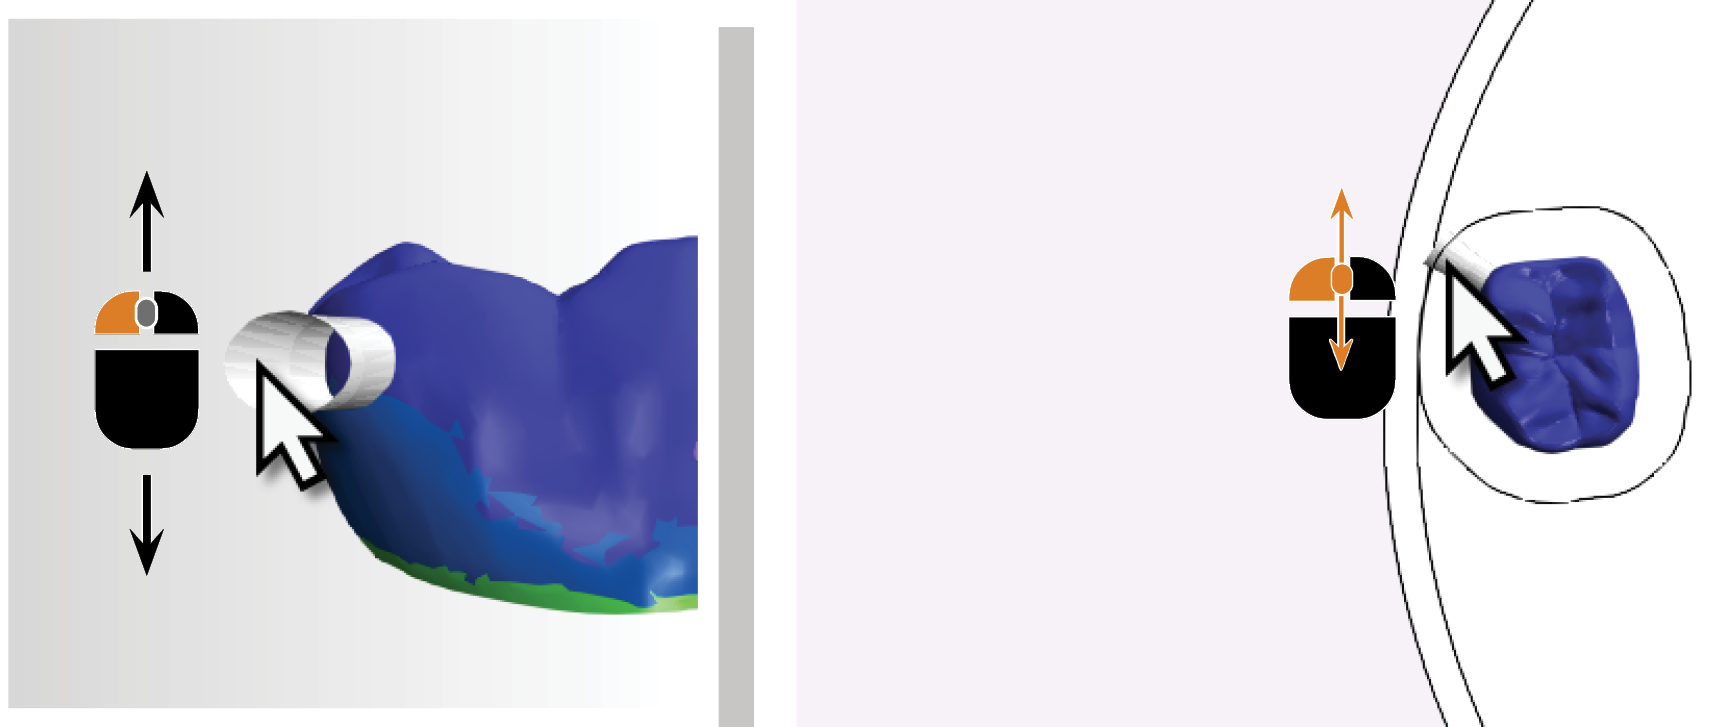
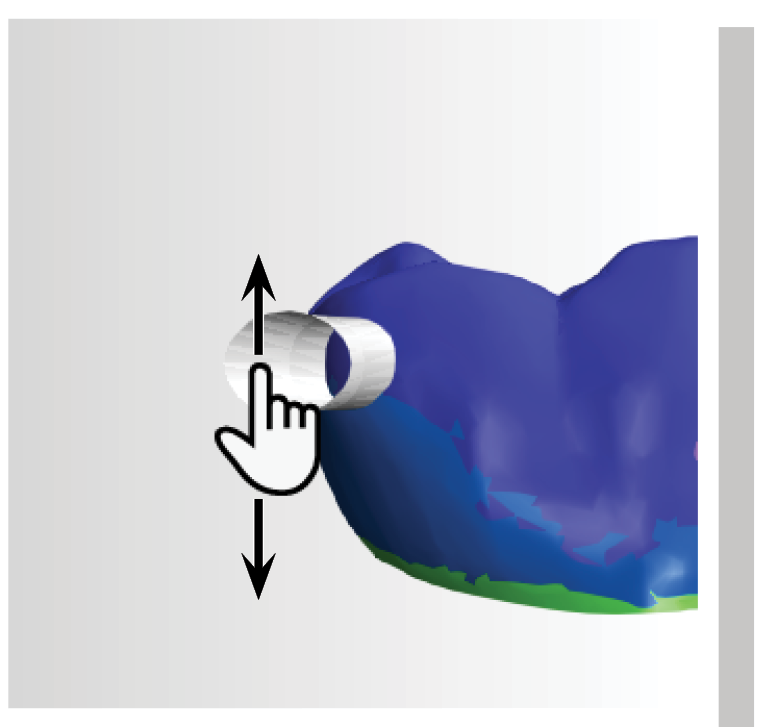
Z (vertical)
Hold down the mouse button and scroll the mouse wheel.
Alternative: In the preview area, click on the bar, hold down the mouse button, and drag the bar up or down.
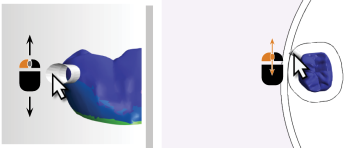
Place the finger on the bar in the preview area and drag it up or down.
-
To move a bar after it has been placed:
-
Select and hold the node.
-
Use your mouse or a touch gesture to move the bar to the new location.
-
-
Continue adding bars until you have enough bars for the object.
-
Close the Set bars editing function with
.


What's next?
If you want to calculate the job:
If you want to save the job without a calculation:


