Using bars

Bars connect objects to the blank, stabilize the objects during manufacturing, and prevent them from falling off. The correct position of the bars and the choice of bar type determine the amount of reworking required.
-
You must set at least 1 bar for each object.
-
If the job does not contain a bar, dentalcam does not calculate the job.
Bar types
For each bar, choose from the following types of bars:
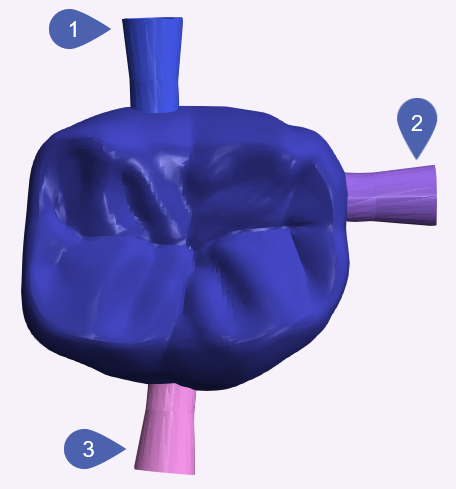
Bar types on the blank display
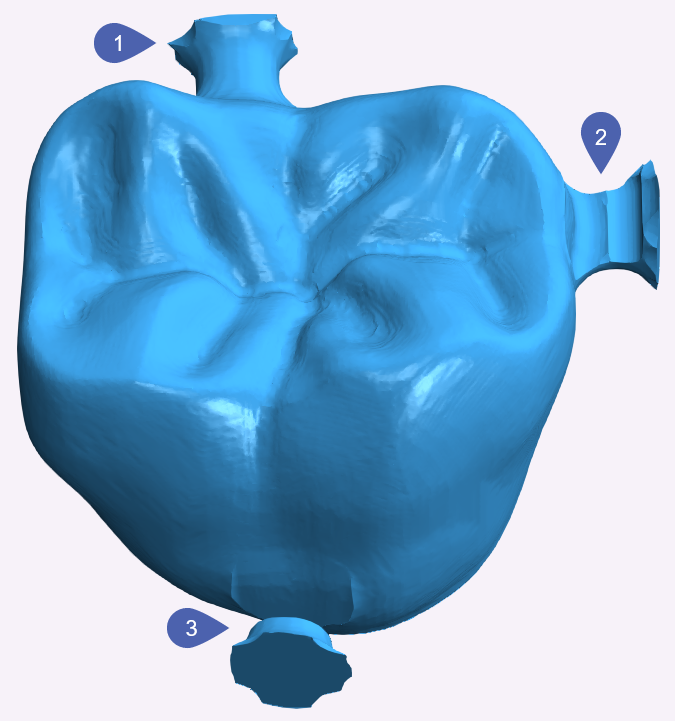
Bar types on the residual material display
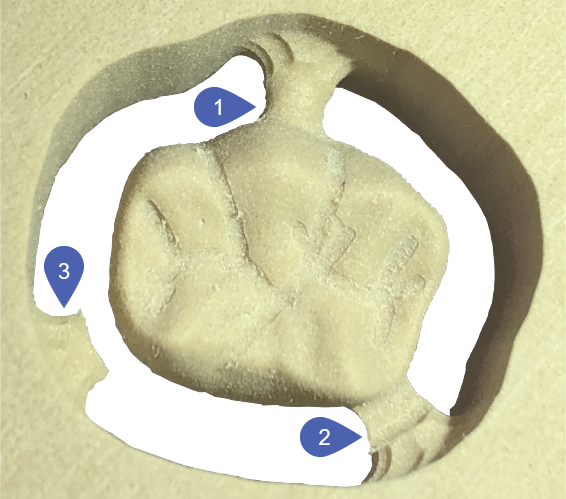
Bar types after manufacturing
Intact bar
-
They remain completely intact at the end of the manufacturing process.
-
They are displayed in blue in the Nesting view.
Purposes
-
To ensure high stability in the appropriate areas after manufacturing.
-
For bars that are only roughly removed, since in such cases machine-based reduction or removal takes longer than manual removal. Example: Bars that connect the sinter bars to the material.
Partially reduced bars
-
Some are removed at the end of the manufacturing process.
-
They are displayed in violet in the Nesting view.
-
You specify the amount of residual material in the material settings.
Purpose For applications where moderate stability is sufficient after manufacturing. This is the case for most materials in many areas, so partially reduced bars are most commonly used.
Fully reduced bars
-
These are completely removed at the end of the manufacturing process.
-
They are displayed in pink in the Nesting view.
Purpose When there are fewer bars after machining, it is easier to separate the object from the blank. This reduces stability at those points.
Parameters of bars
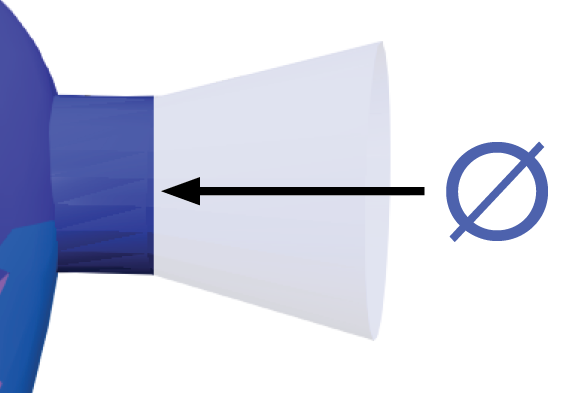
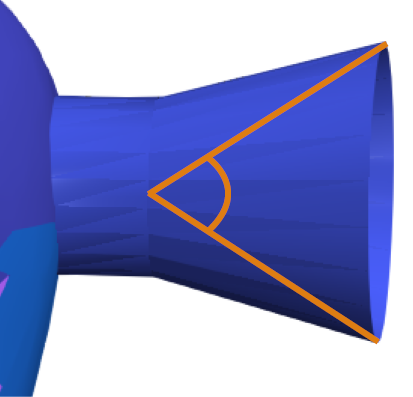
For each bar, specify the following parameters:
What's next?
If you want to learn the rules for placing bars:
If you want to install bars:


