Exchanging the spindle
261197C, 265120
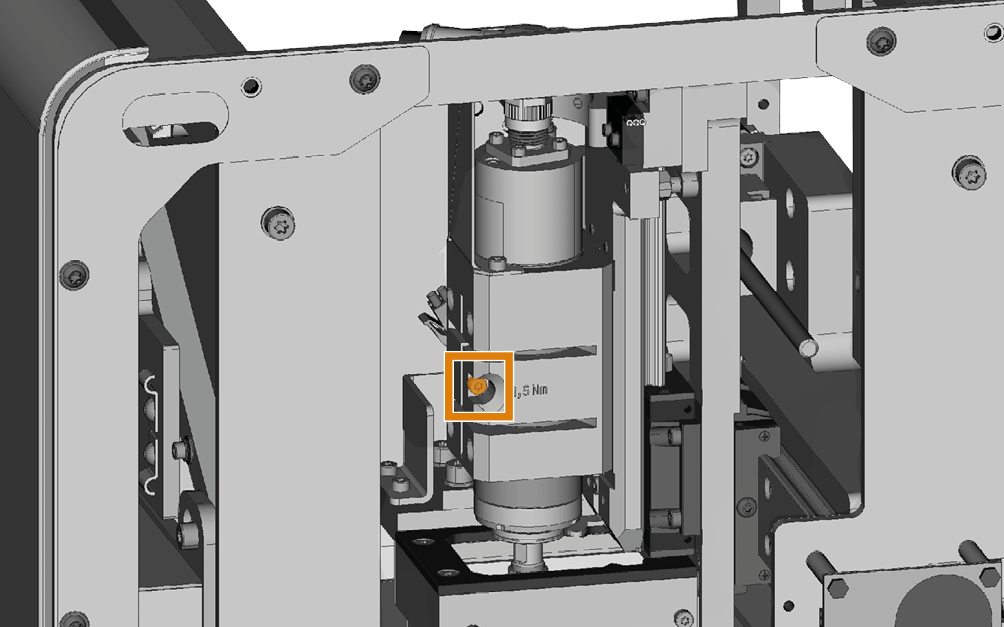
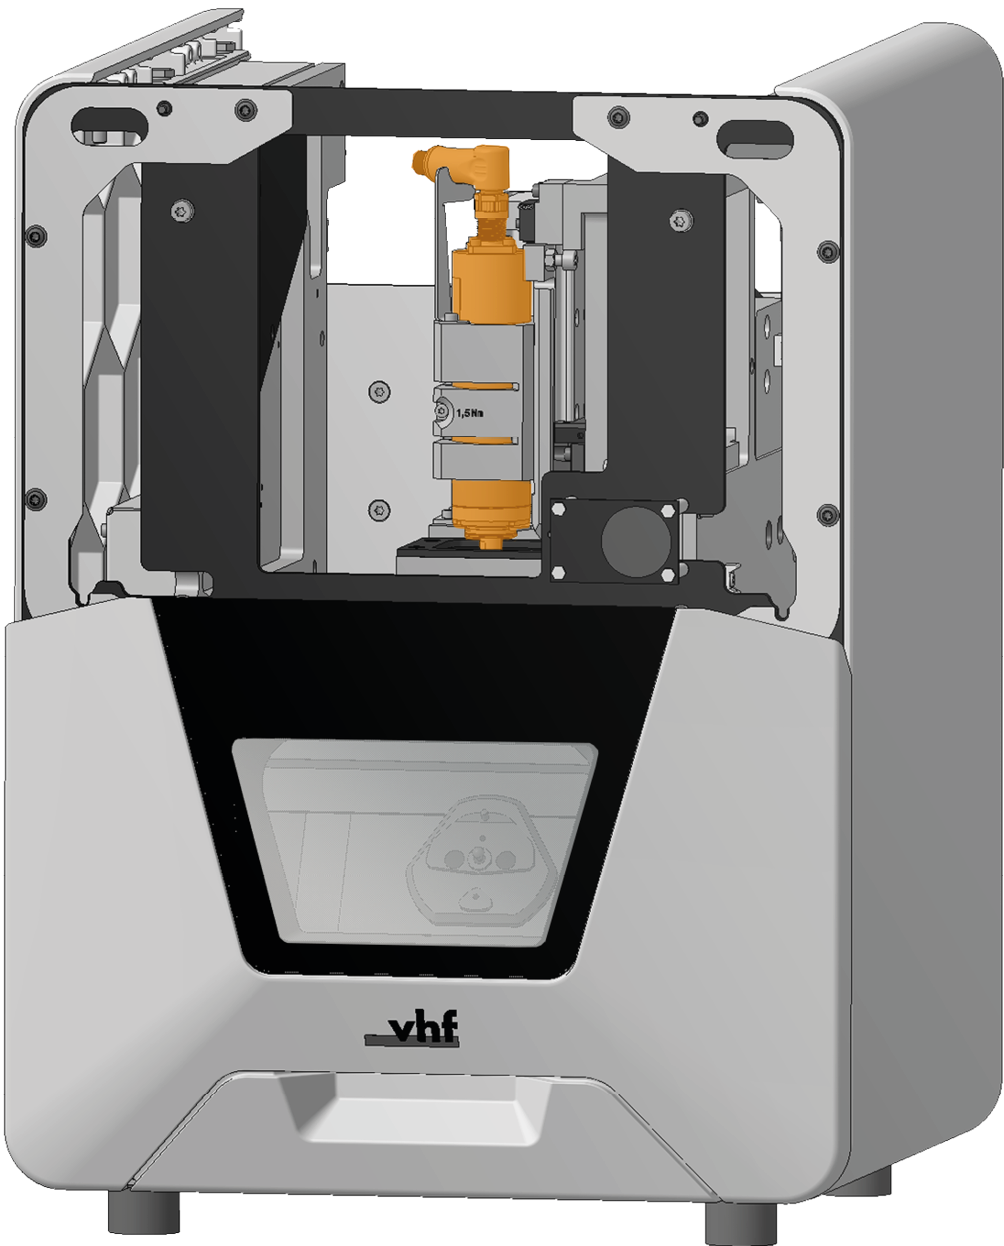
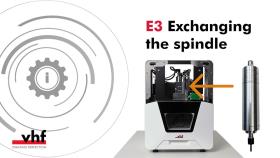
The spindle (marked orange) is located behind the service cover.
Watch the video
YouTube video – When viewing this video, personal data is sent to YouTube, LLC, USA. Privacy statement
-
Have ready:
-
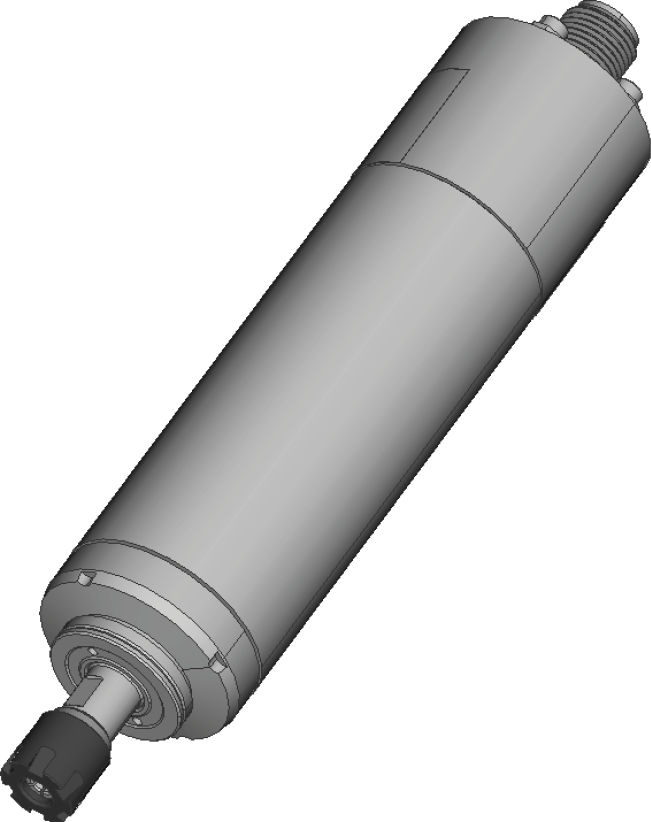
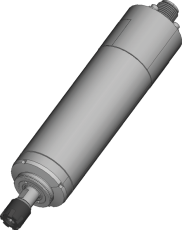
1 x spare spindle SFE 300M
-
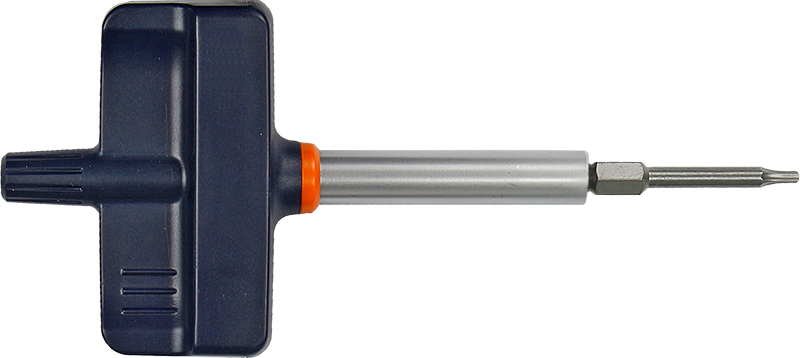
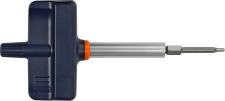
1 x Torque screwdriver 1.5 Nm with TX10 bit
-
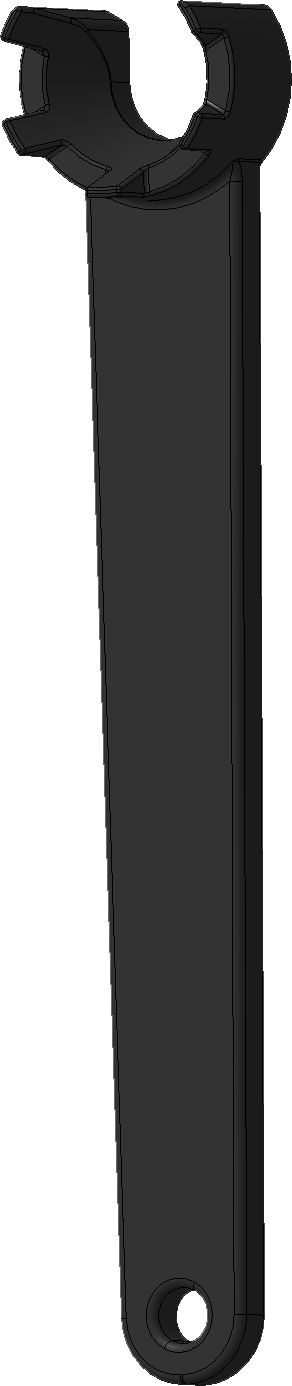
1 x Clamping wrench ER 8

-
1 x Open-end wrench 8 mm

-
-
Remove the tool from the collet chuck.
-
Close the working chamber door.
 Move the axes into the default position by selecting the depicted icon in the Machining view in dentalcnc.
-
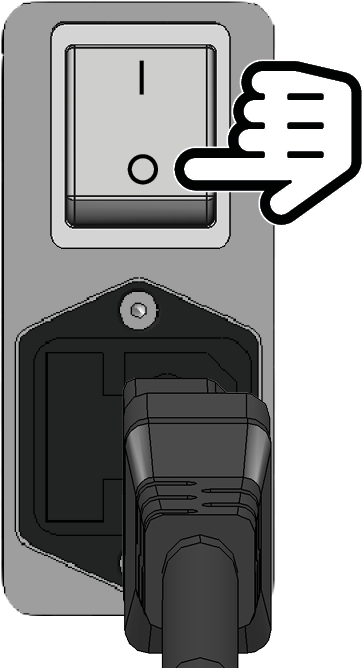
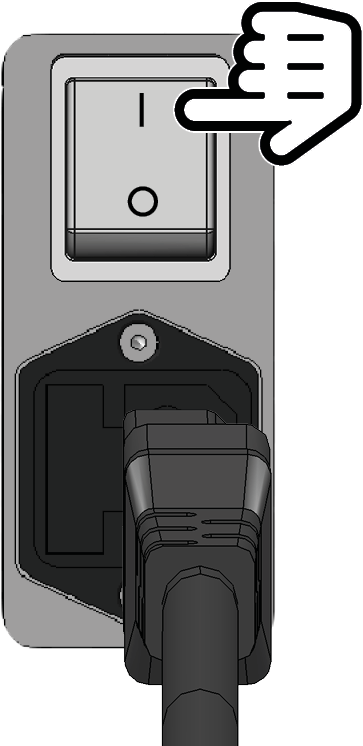
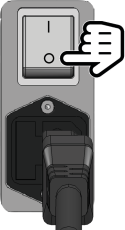
Switch off the machine at the main power switch.
-
Disconnect the machine from all cables.
-
Remove the service cover,
-
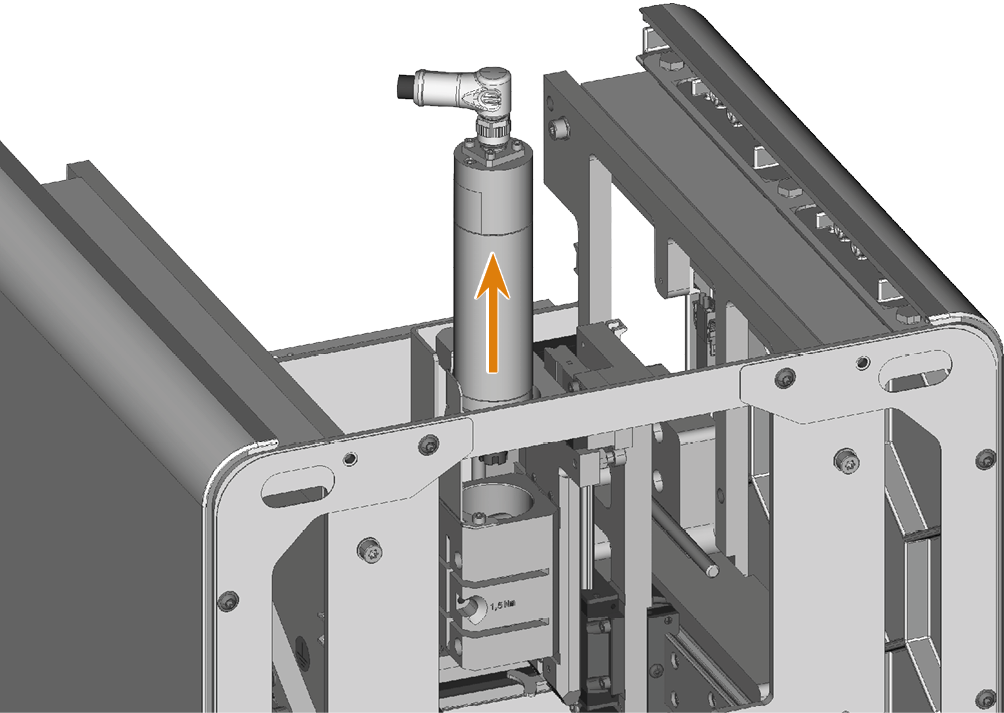
Loosen the fixing screw with the torque screwdriver. Do not unscrew the screw completely.
-
Pull the spindle upward out of the spindle holder.
-
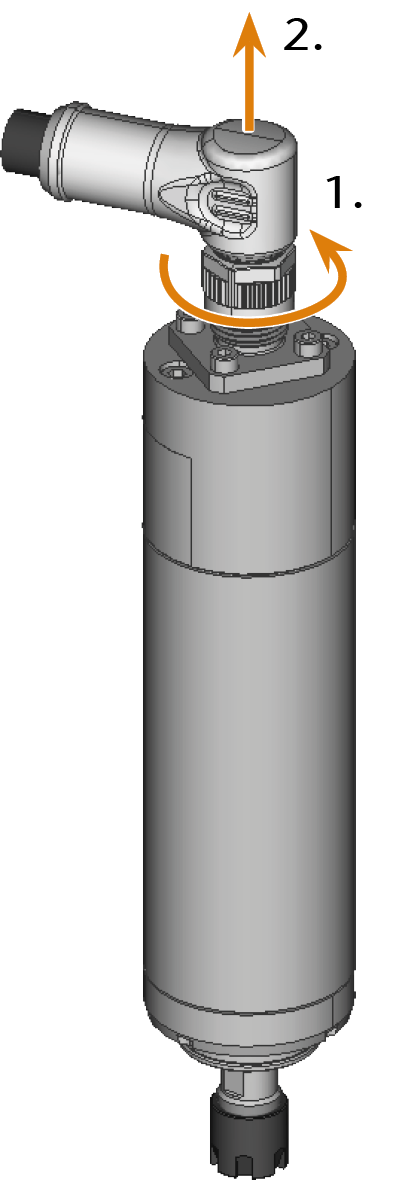
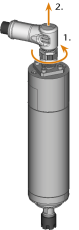
Loosen the spindle cable by turning the knurled nut counterclockwise by hand and remove the cable.
-
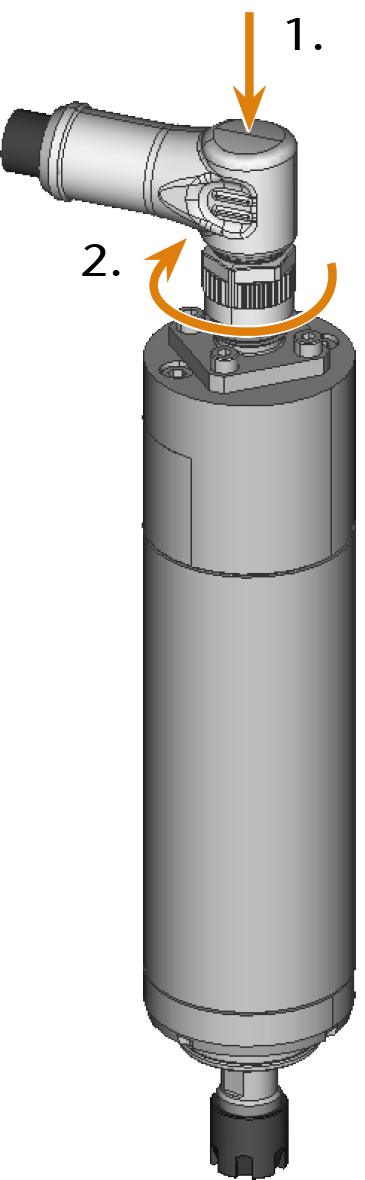
Pick up the spare spindle and plug the spindle cable into the connector on the spindle.
-
Tighten the spindle cable by manually turning the knurled nut clockwise.
-
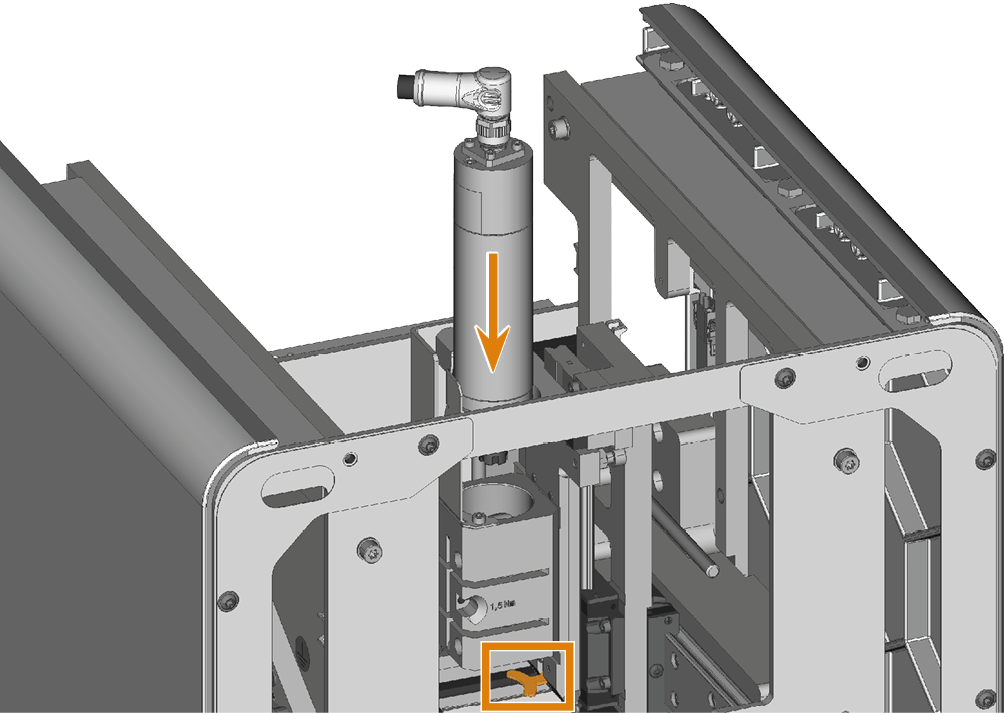
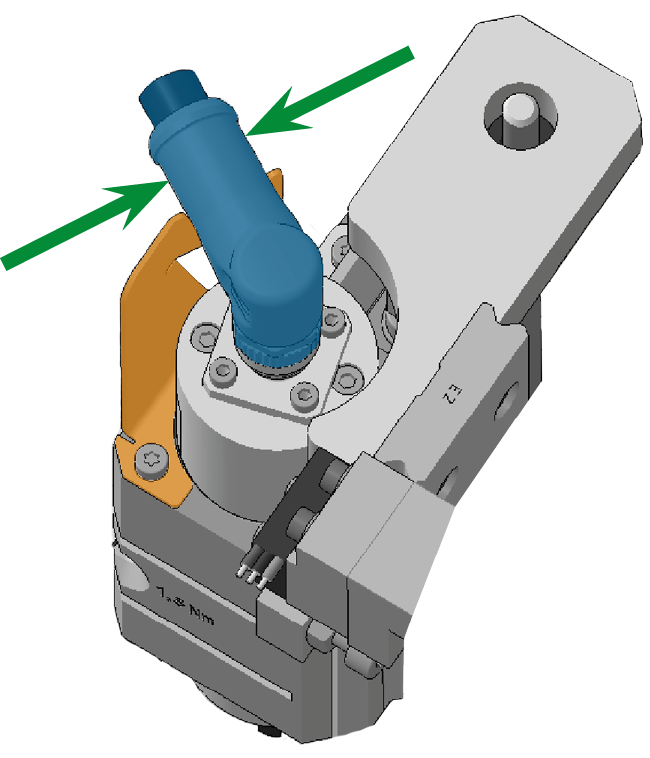
Insert the spindle from above into the spindle holder until the spindle rests on the stop (marked orange). Turn the spindle such that the spindle cable (marked blue) rests on the holder (marked orange).
-
Tighten the screw to fix the spindle in place using the torque screwdriver.
-
Fully assemble the machine housing.
-
Connect the machine.
-
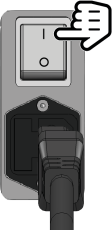
Switch on the machine at the main power switch.
-
Start dentalcnc.

-
Open the Service Assistant with the following icon in the Main icon bar:

-
Confirm the Exchange spindle and Exchange spindle collet chuck tasks with the Mark as complete button.
-
Mill a test specimen and calibrate the machine as necessary.
-
Contact customer service and have the spindle operating hours reset.
This can be important for deciding warranty claims.